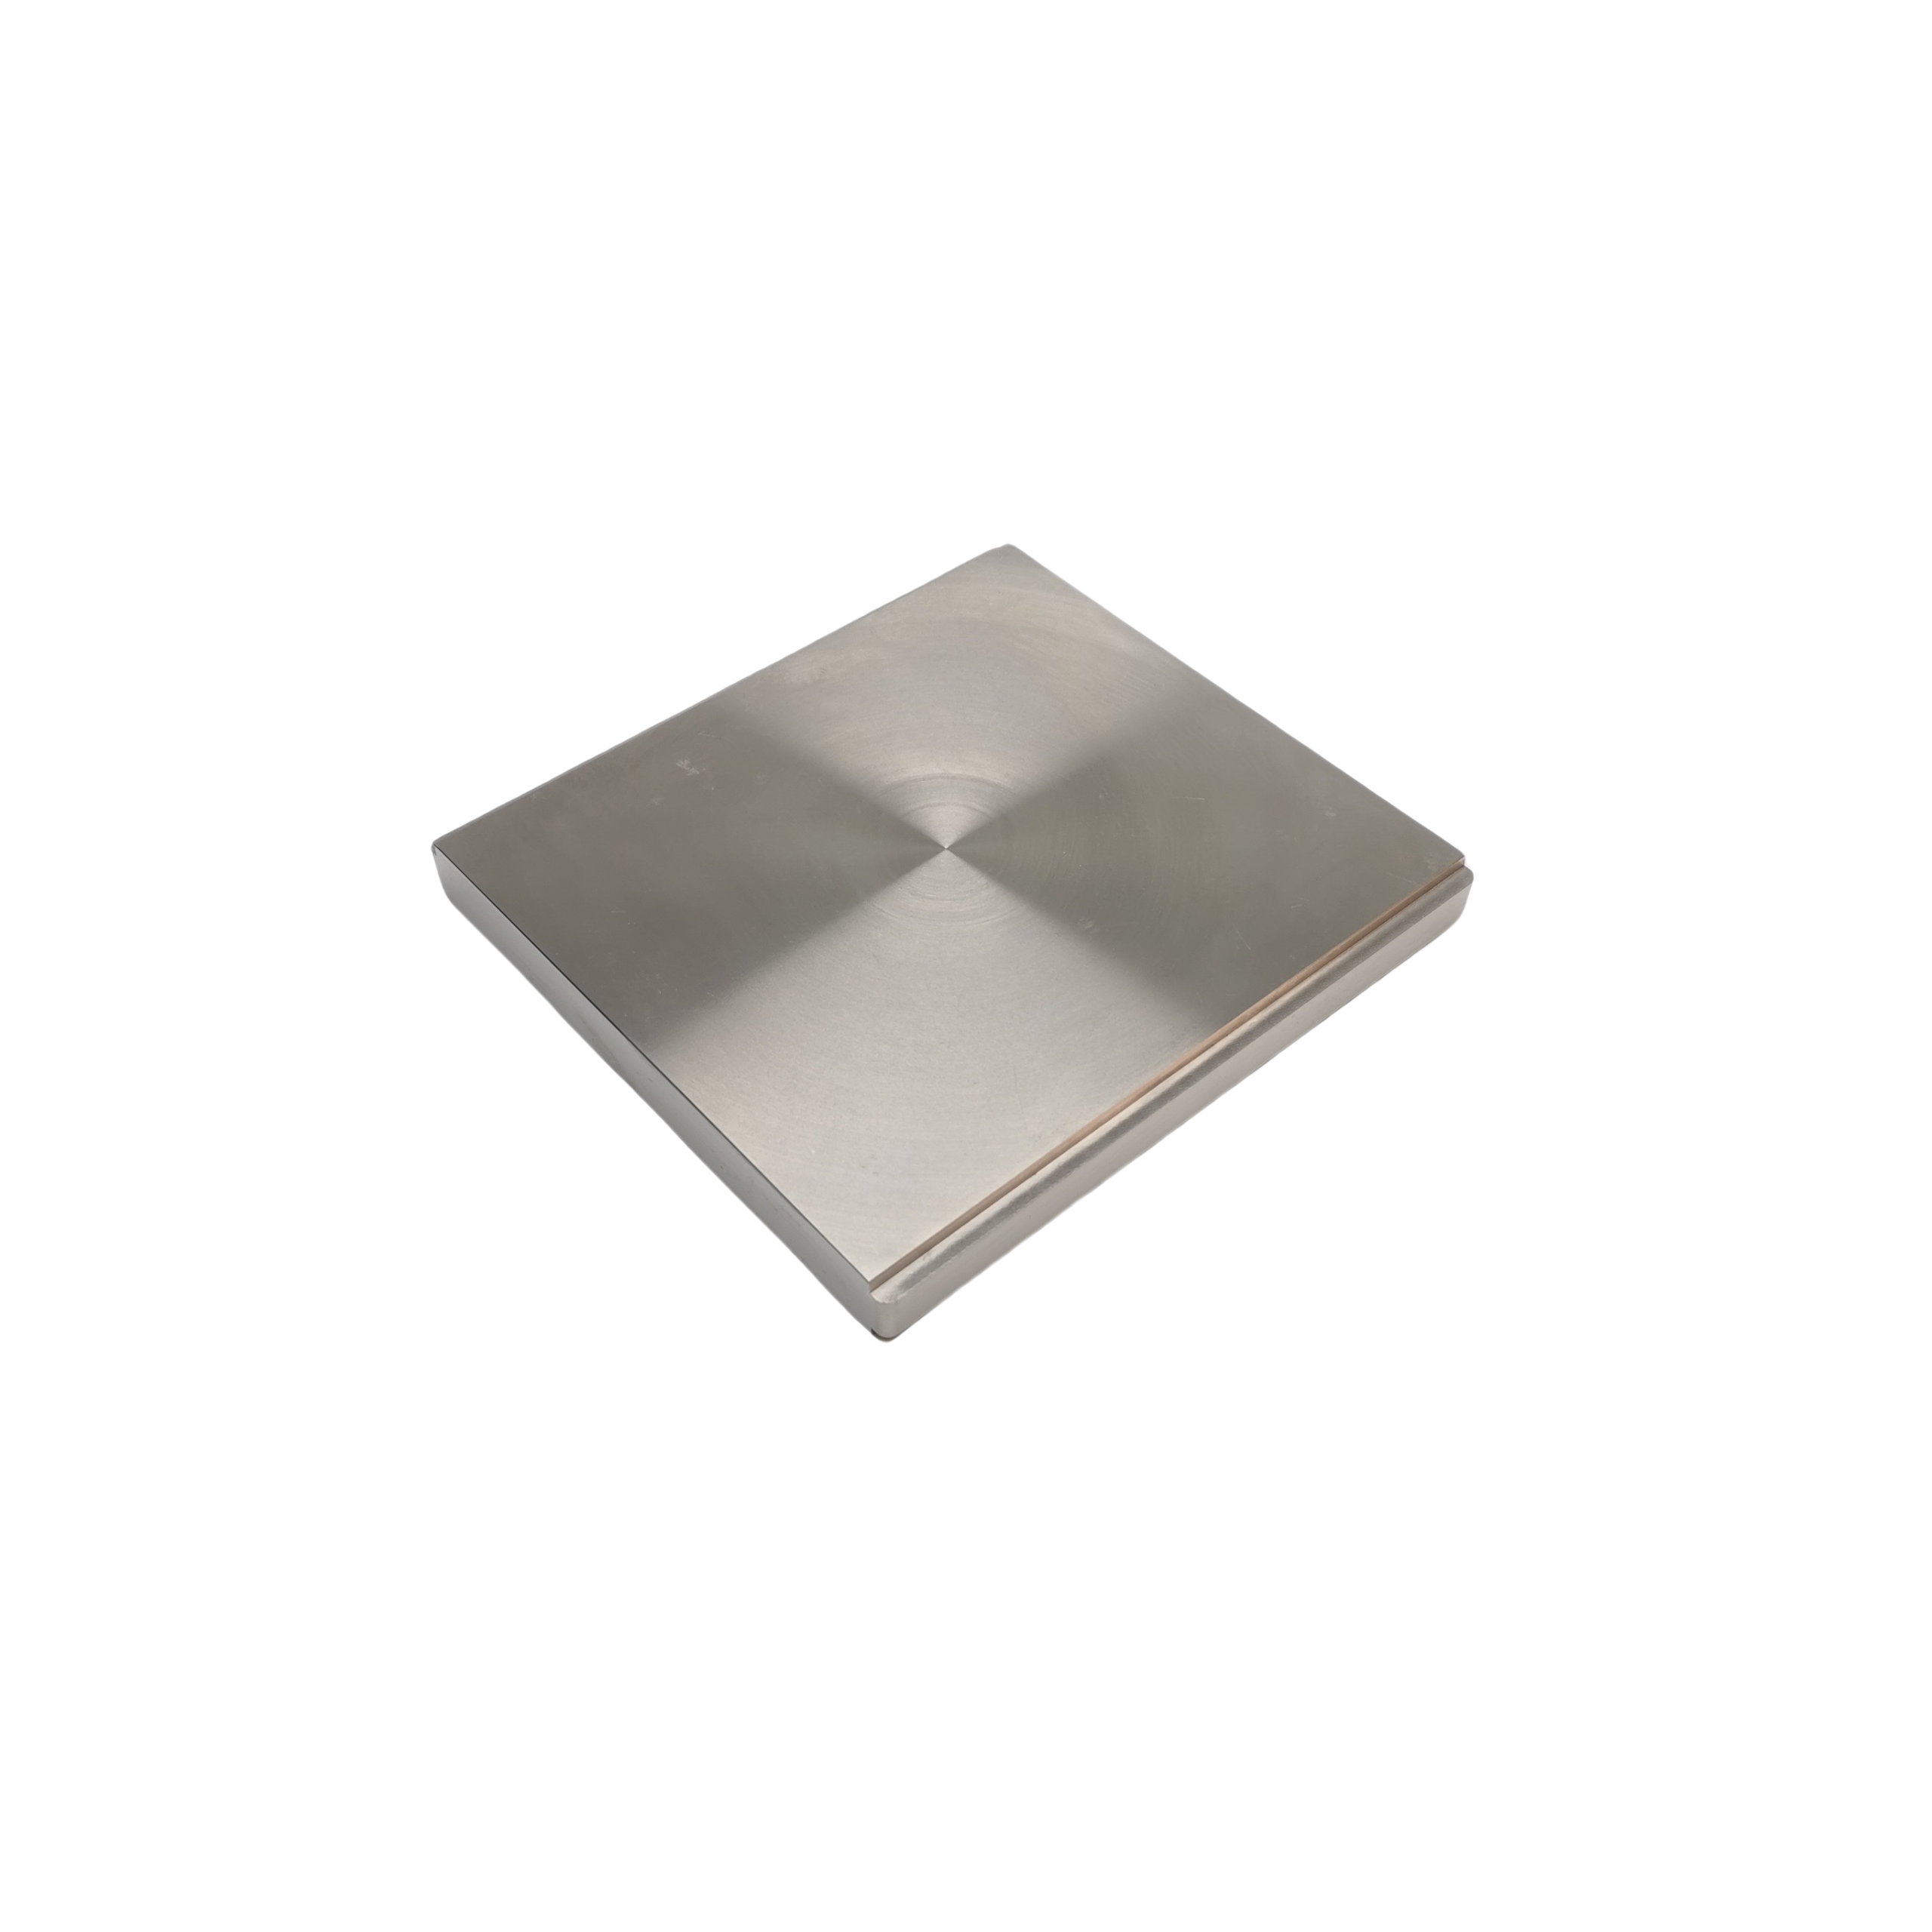
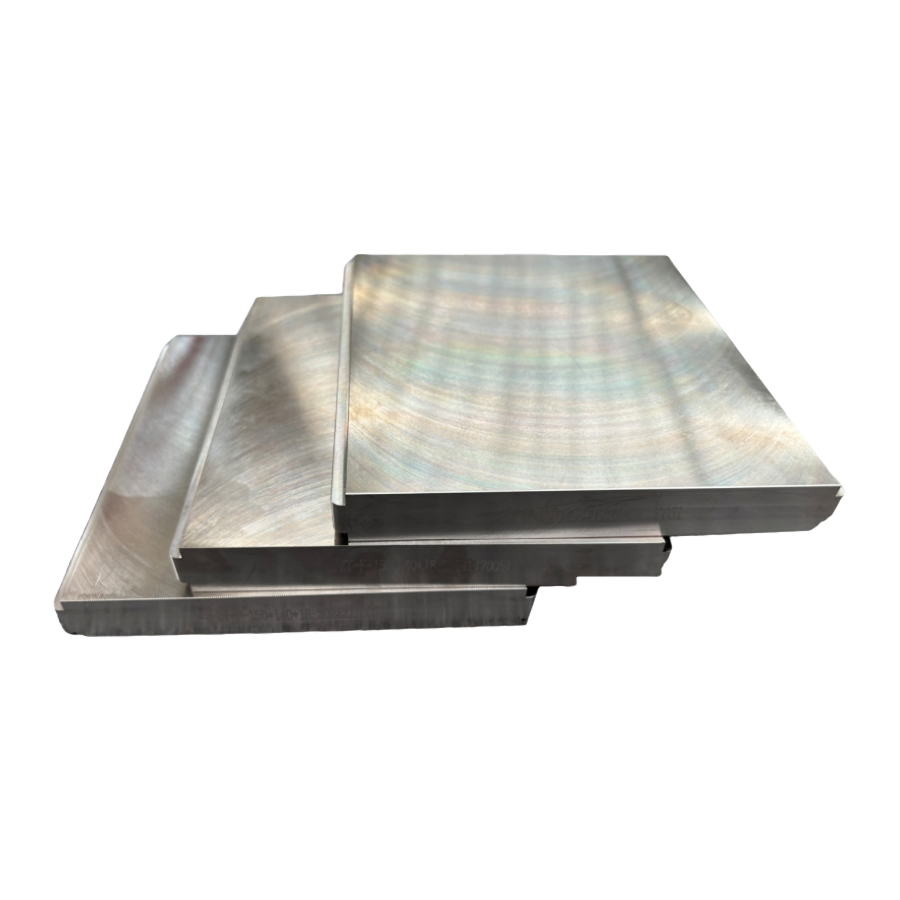
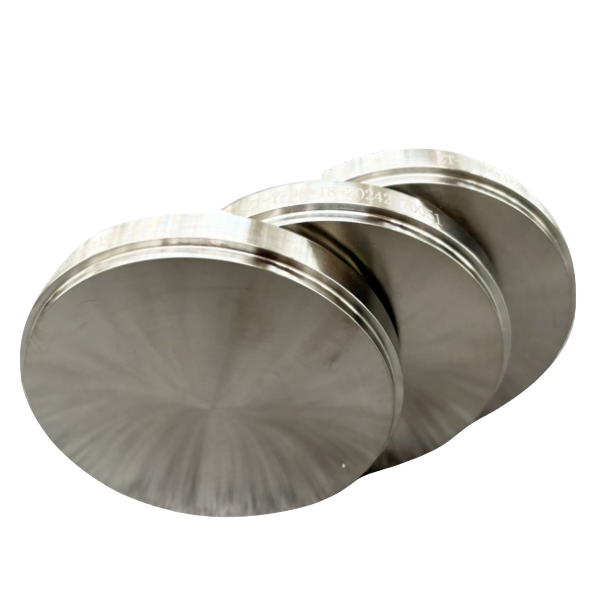
This material is crafted from high-quality raw materials, resulting in high flexural strength and stable quality. It facilitates pure milling and easy polishing, contributing to straightforward, stable, and efficient operation. Exhibiting excellent biocompatibility, it is well-suited for long-term temporary use, with a wear period extending up to 12 months. The material is also compatible with various milling techniques.
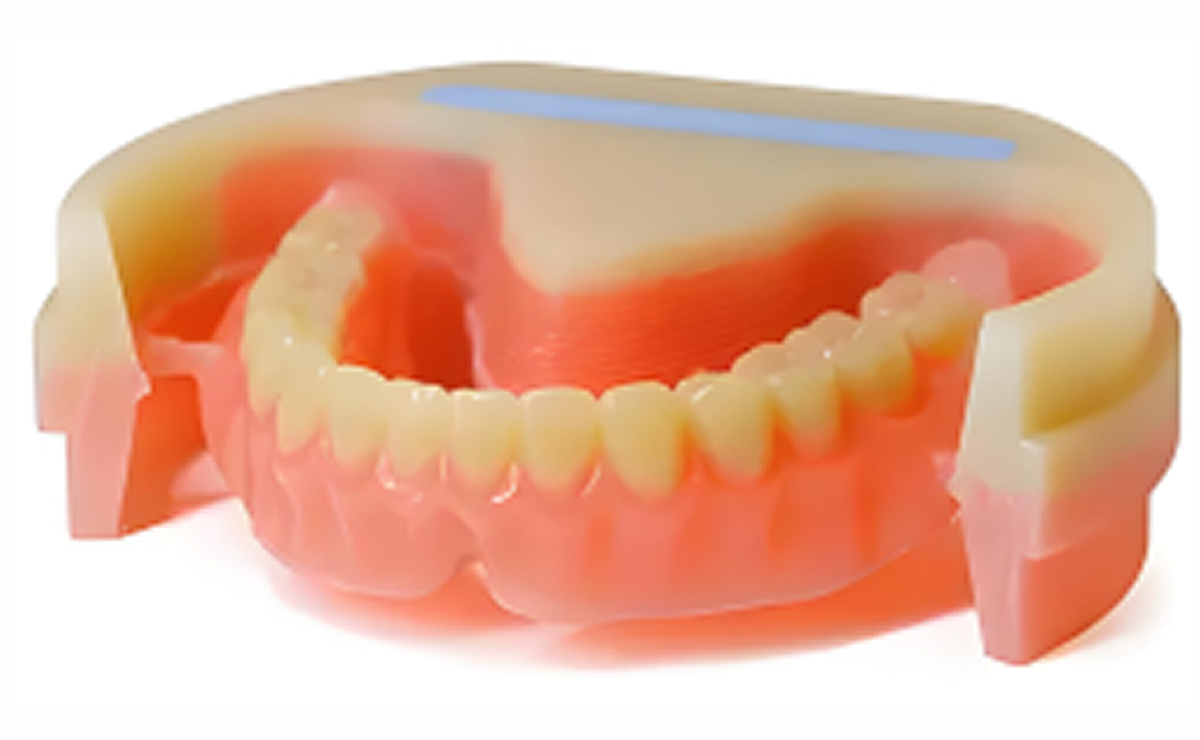
Easy Processing: ERADENT’s PMMA is exceptionally easy to mill, enabling rapid and straightforward production of technical dentures. It is ideal for a variety of applications, including temporary dentures, partial denture clasps, partial denture frameworks, occlusal splints, and provisional crowns and bridges.
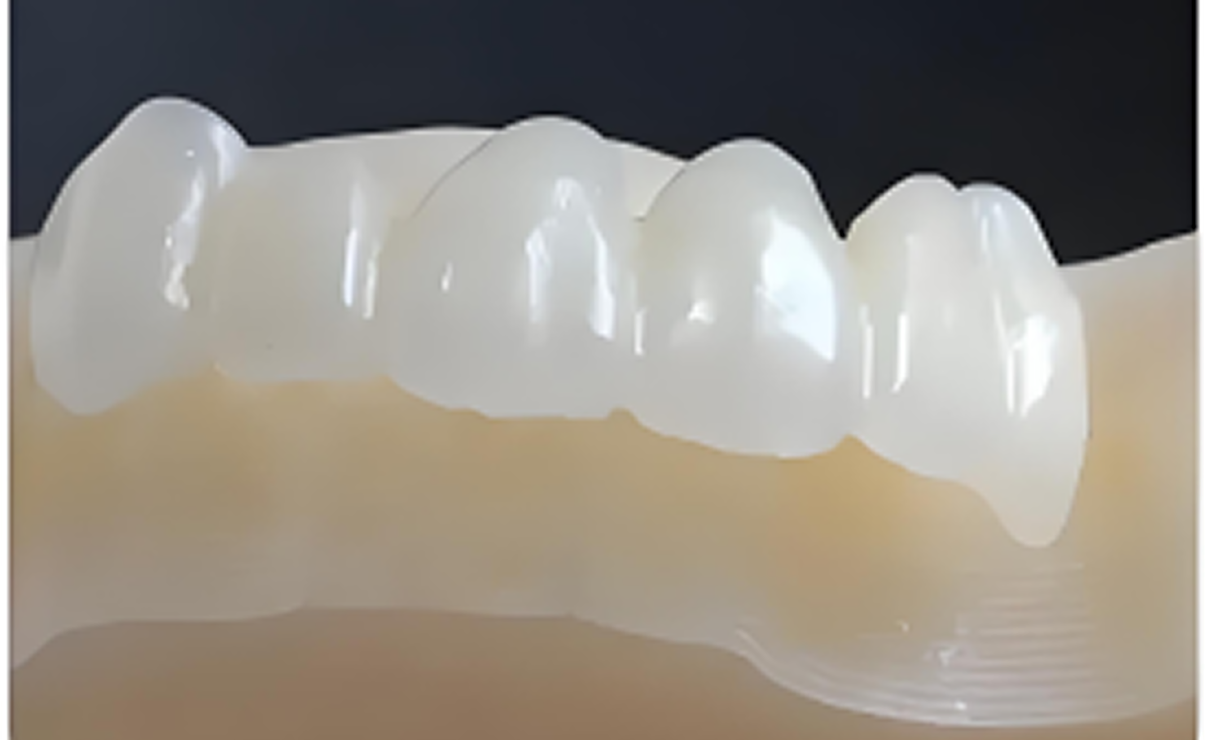
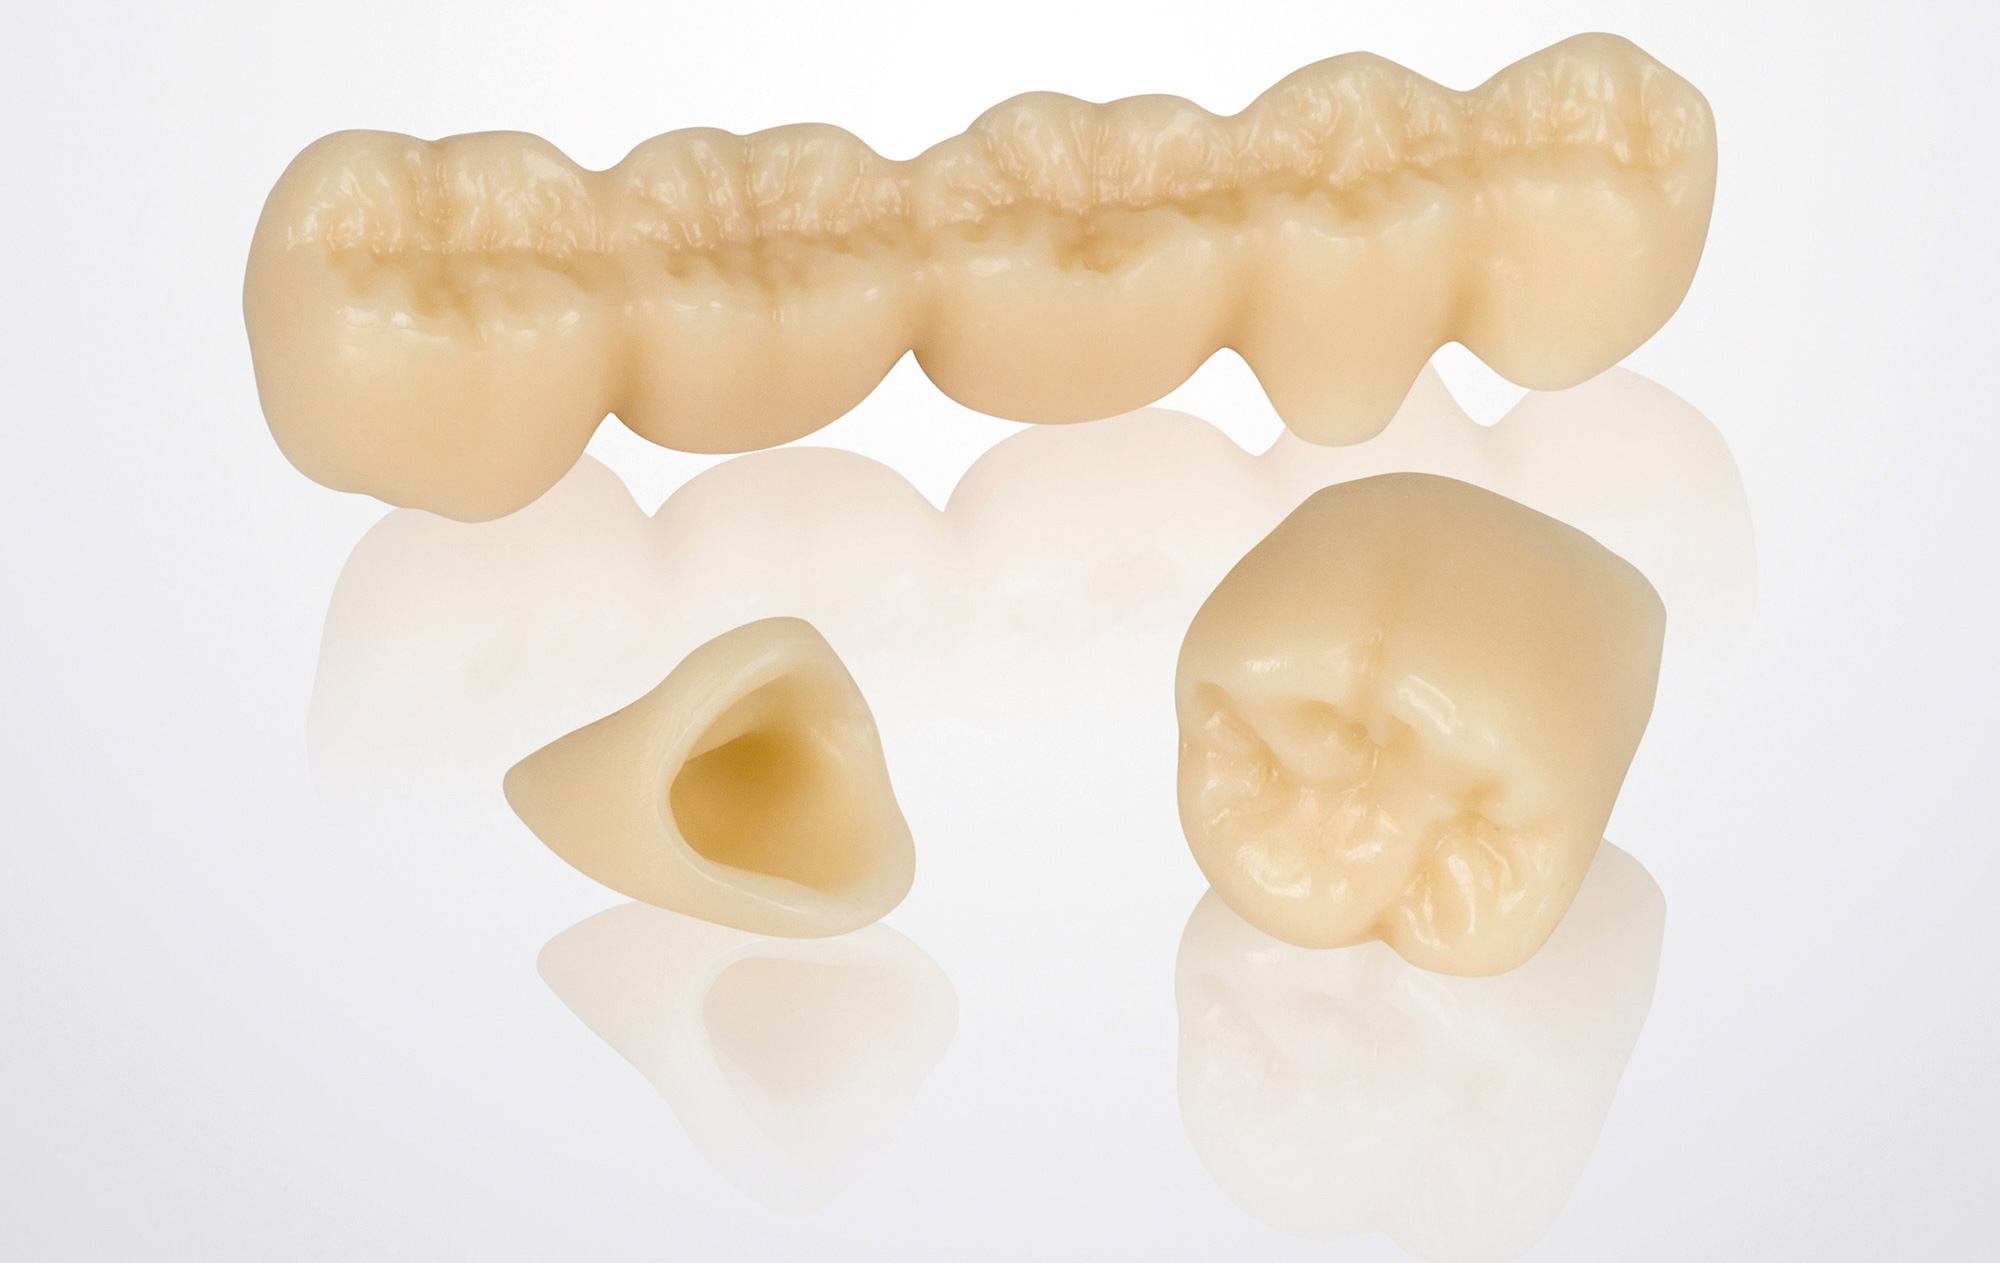
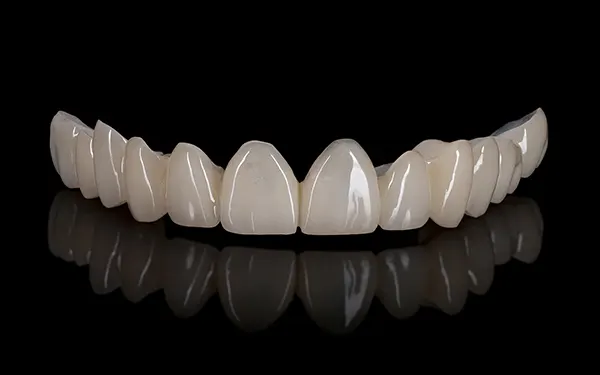
Natural Appearance: Dentures fabricated from PMMA exhibit lifelike coloration and vibrant translucency, closely mimicking natural teeth. After milling, the surfaces are bright, smooth, and highly polishable, resulting in superior esthetic restorations.
Outstanding Biocompatibility: PMMA is biocompatible and does not induce any adverse reactions, such as gingival discoloration or allergies. Additionally, it minimizes discomfort during occlusion, enhancing patient comfort.
Simple polishing achieves aesthetic results
Compatible with various colors and sizes
Good biocompatibility
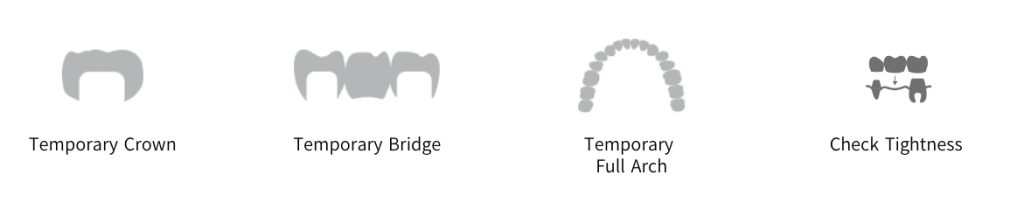
Indications
Temporary Crown
Temporary Bridge
Temporary Full Arch
Check Tightness
Usage Instructions
Once the patient’s restoration area is fully prepared, use a shade guide for color matching to determine the restoration’s appropriate shade.
Place the provisional crown and bridge resin block into the CAD/CAM machine following standard oral restoration procedures and the operational sequence outlined in the system manual.
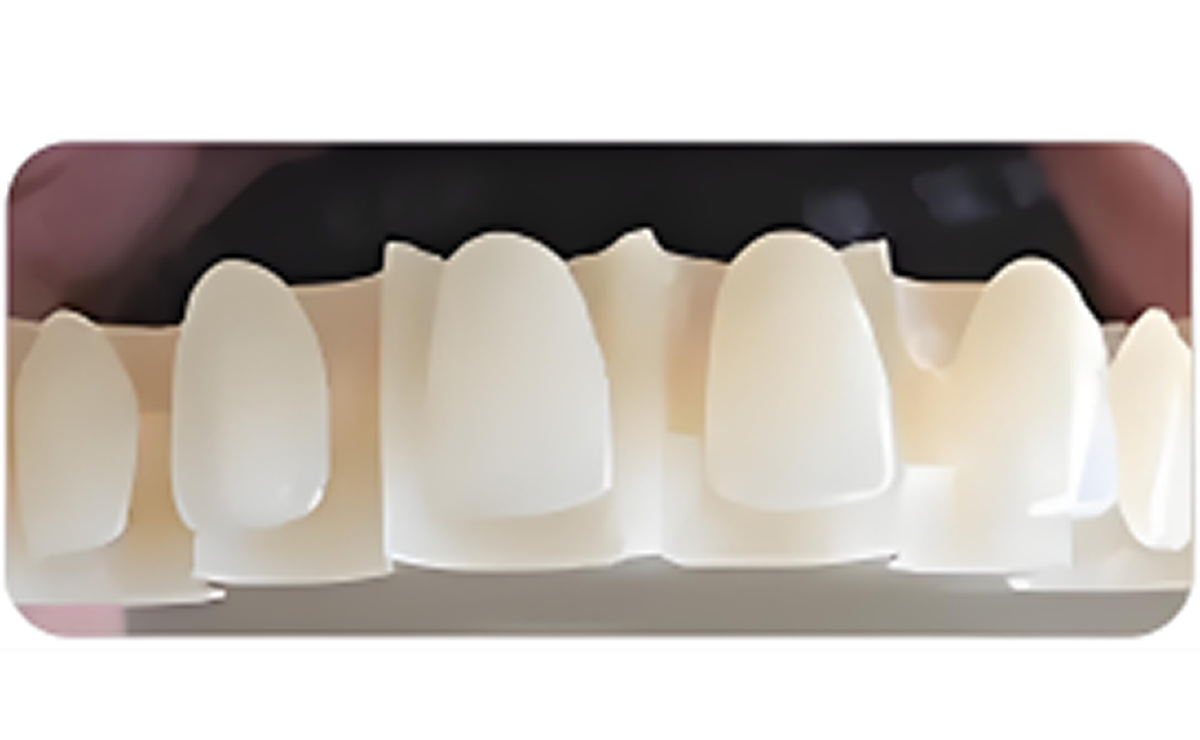
After mechanical processing is complete, remove the resin block from the CAD/CAM machine. Use a diamond bur to separate the milled crown/bridge structure from the resin block. If white spots appear on the surface due to diamond tool marks, they can be easily eliminated with tungsten carbide, ensuring no compromise in product quality. Generally, fine scratch-resistant hard metal alloy tools are preferred over diamond burs for crown and bridge removal.
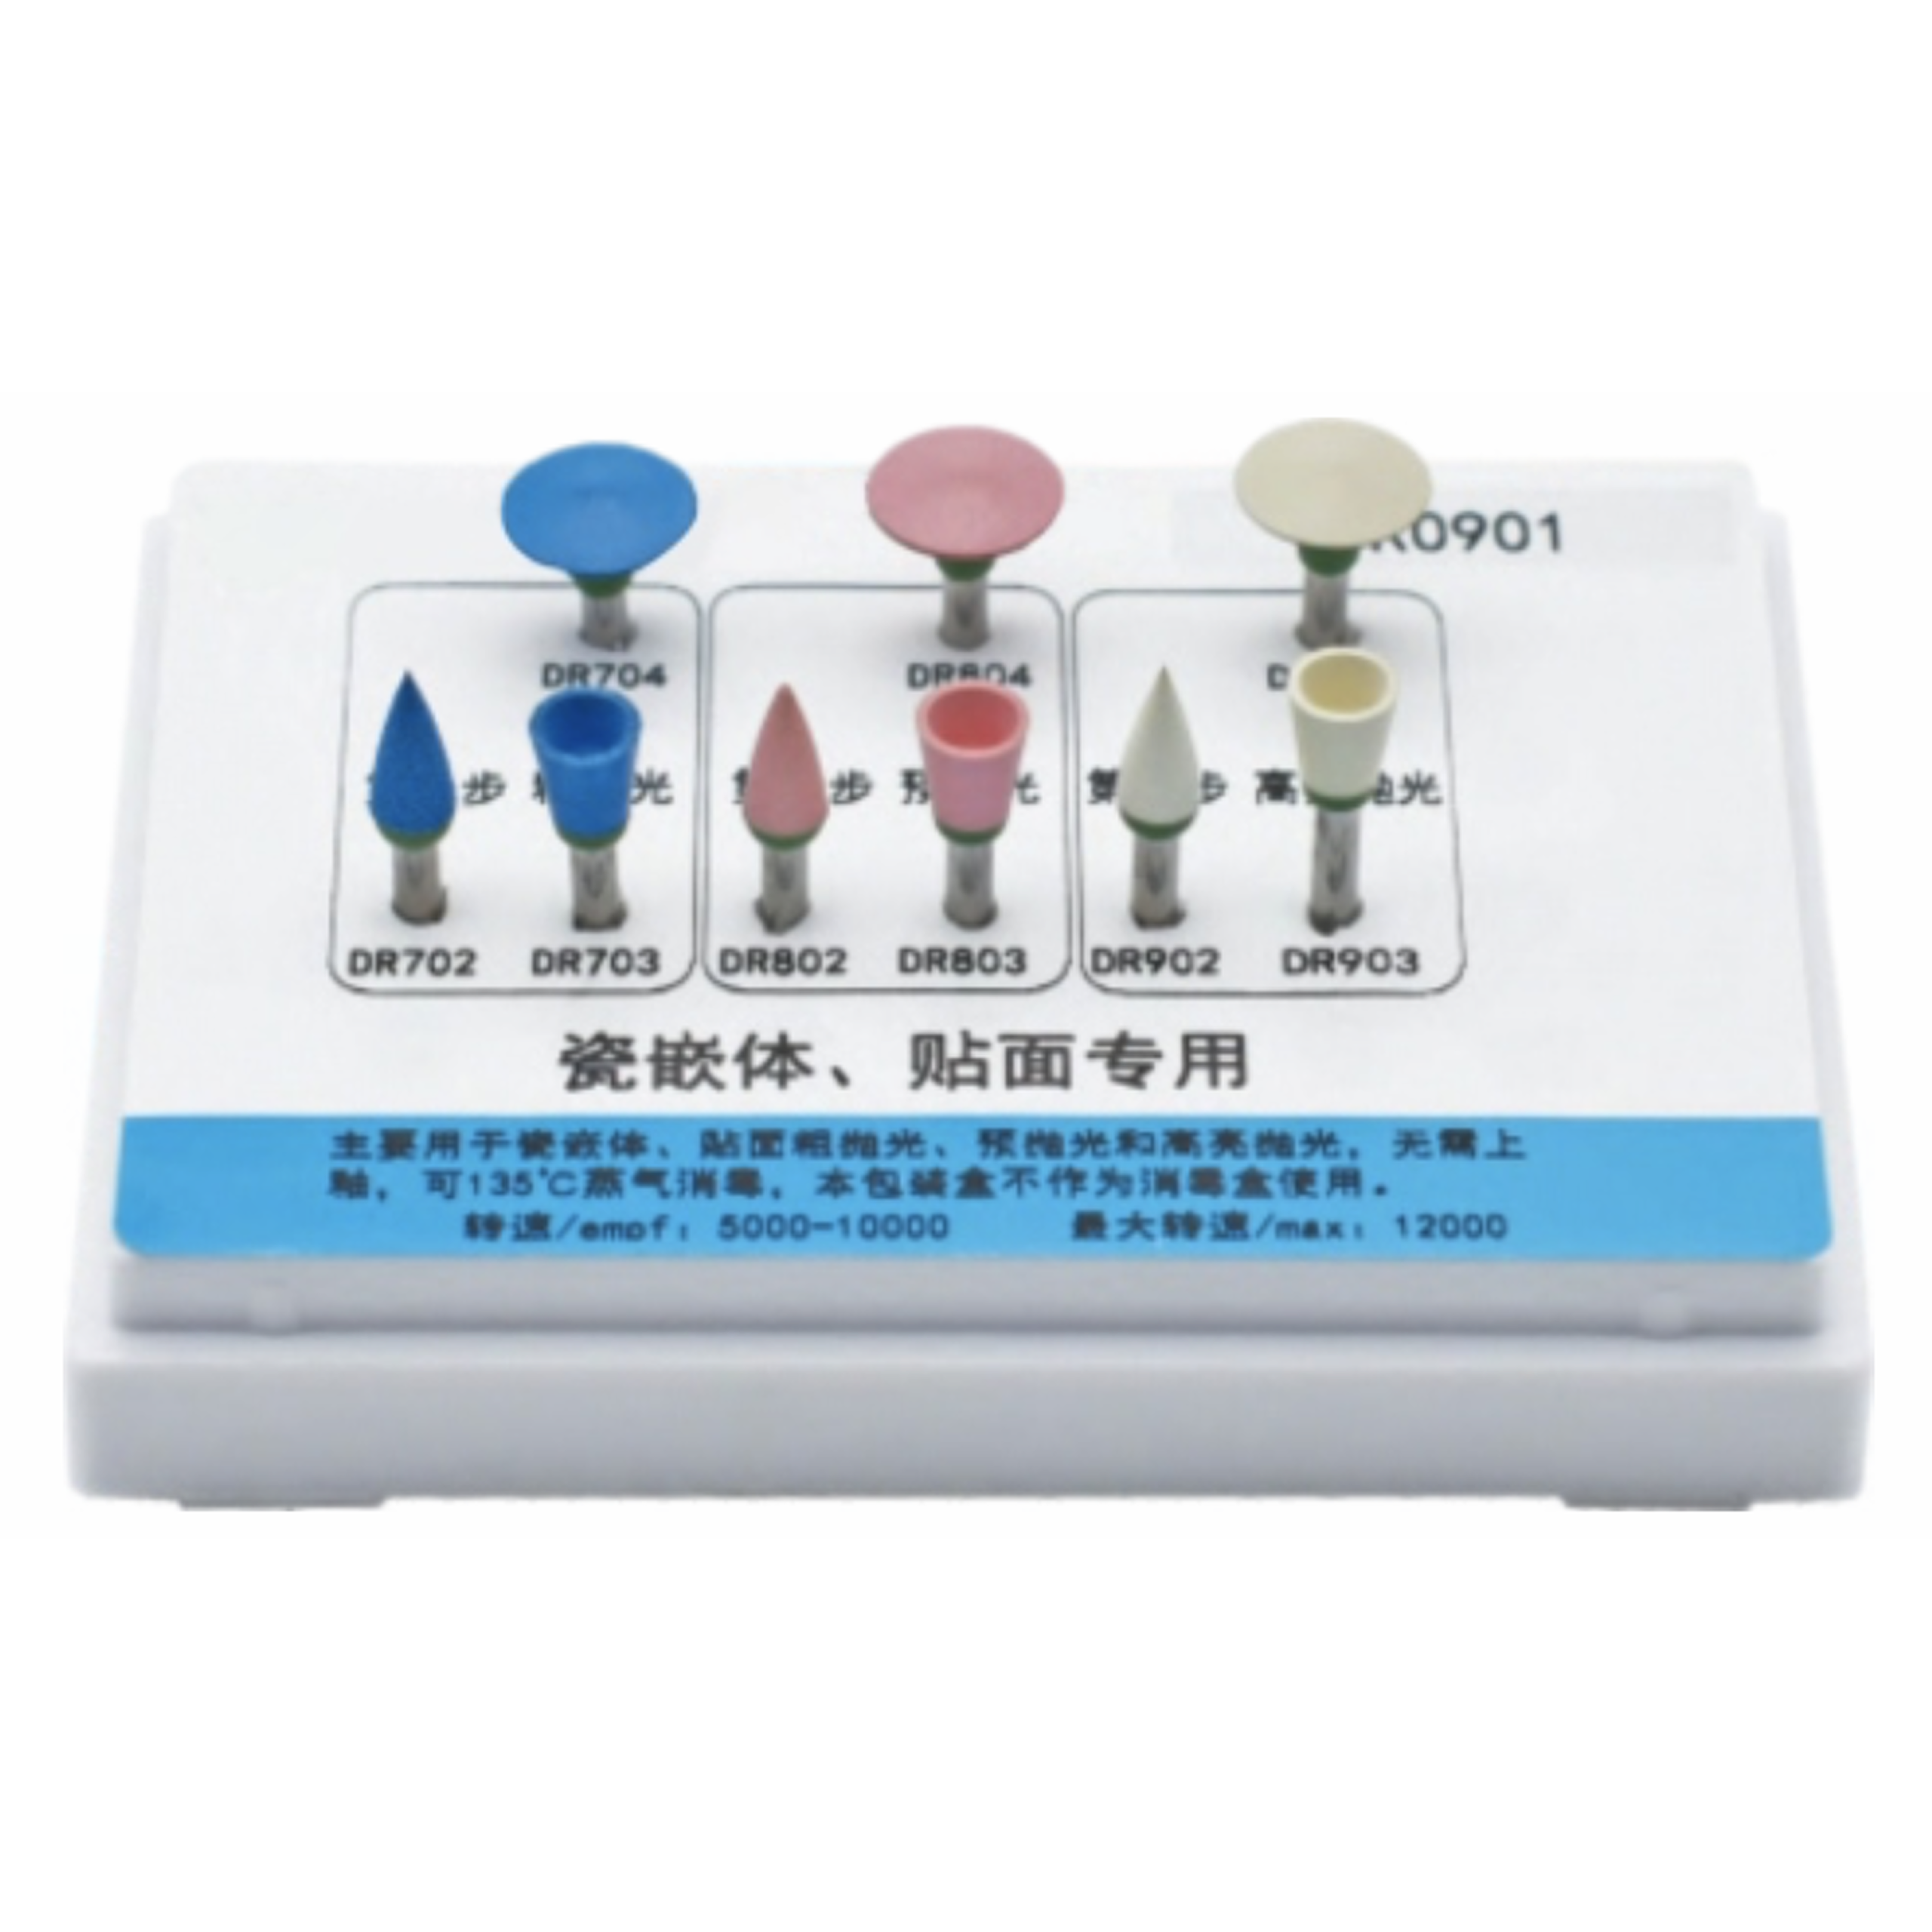
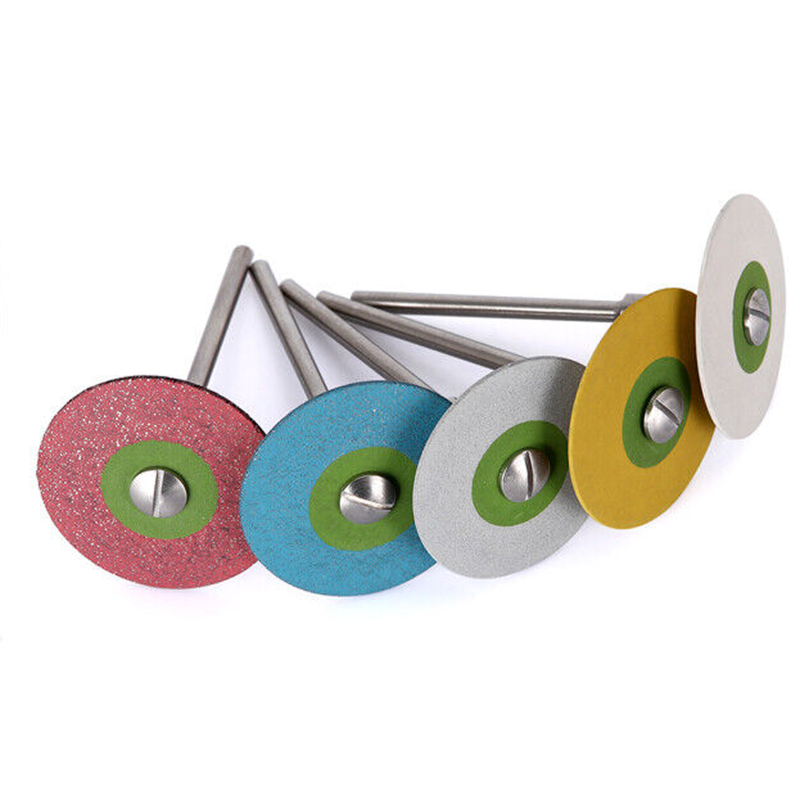
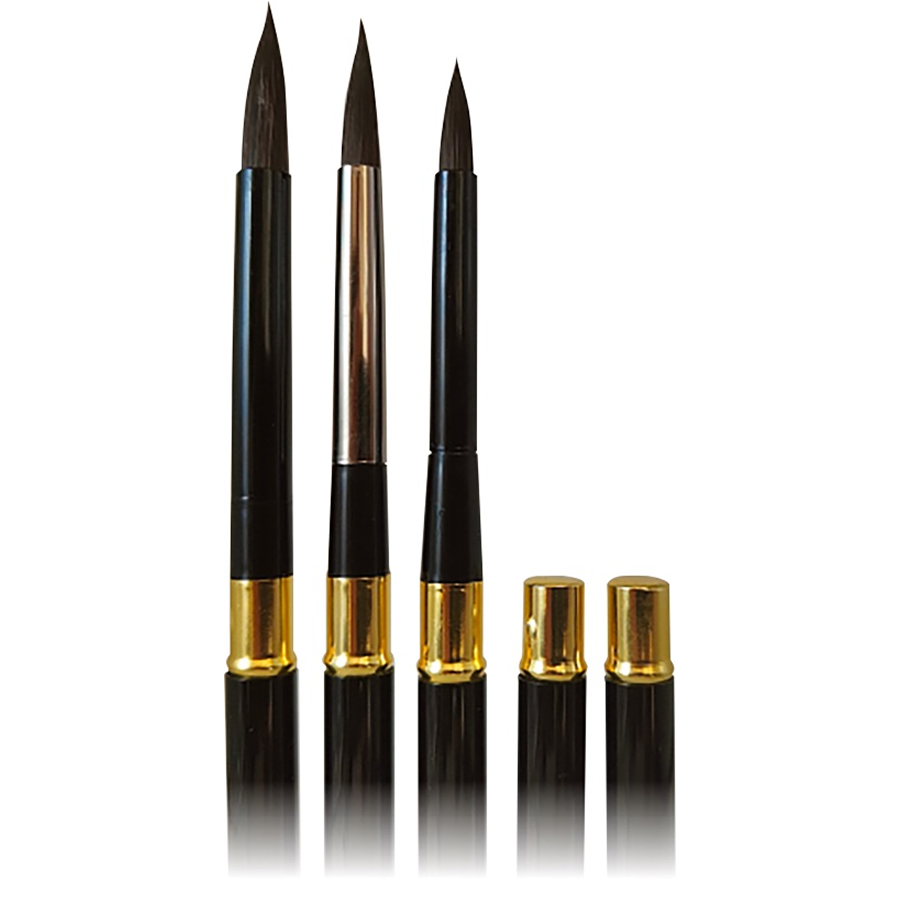
Pre-polish the fabricated crowns and bridges using an appropriate pre-polishing needle. Then, apply a high-gloss polishing agent suitable for intraoral use, taking care to avoid excessive heat generation. Thorough polishing is essential to achieve the perfect aesthetic and prevent plaque accumulation or other factors that may affect crown/bridge color.
Clean the polished crowns and bridges in an ultrasonic cleaning unit using a medical-grade alkaline cleaning solution (with a concentration of ≤10% and temperature ≤40°C). Steam cleaning is not recommended due to the risk of inducing thermal or pressure stresses.
Bond the finished crowns and bridges to the patient’s restoration site using a provisional crown adhesive. Remove any excess material. Any provisional crown adhesive conforming to ISO 3107 standards is acceptable for use with this product.